
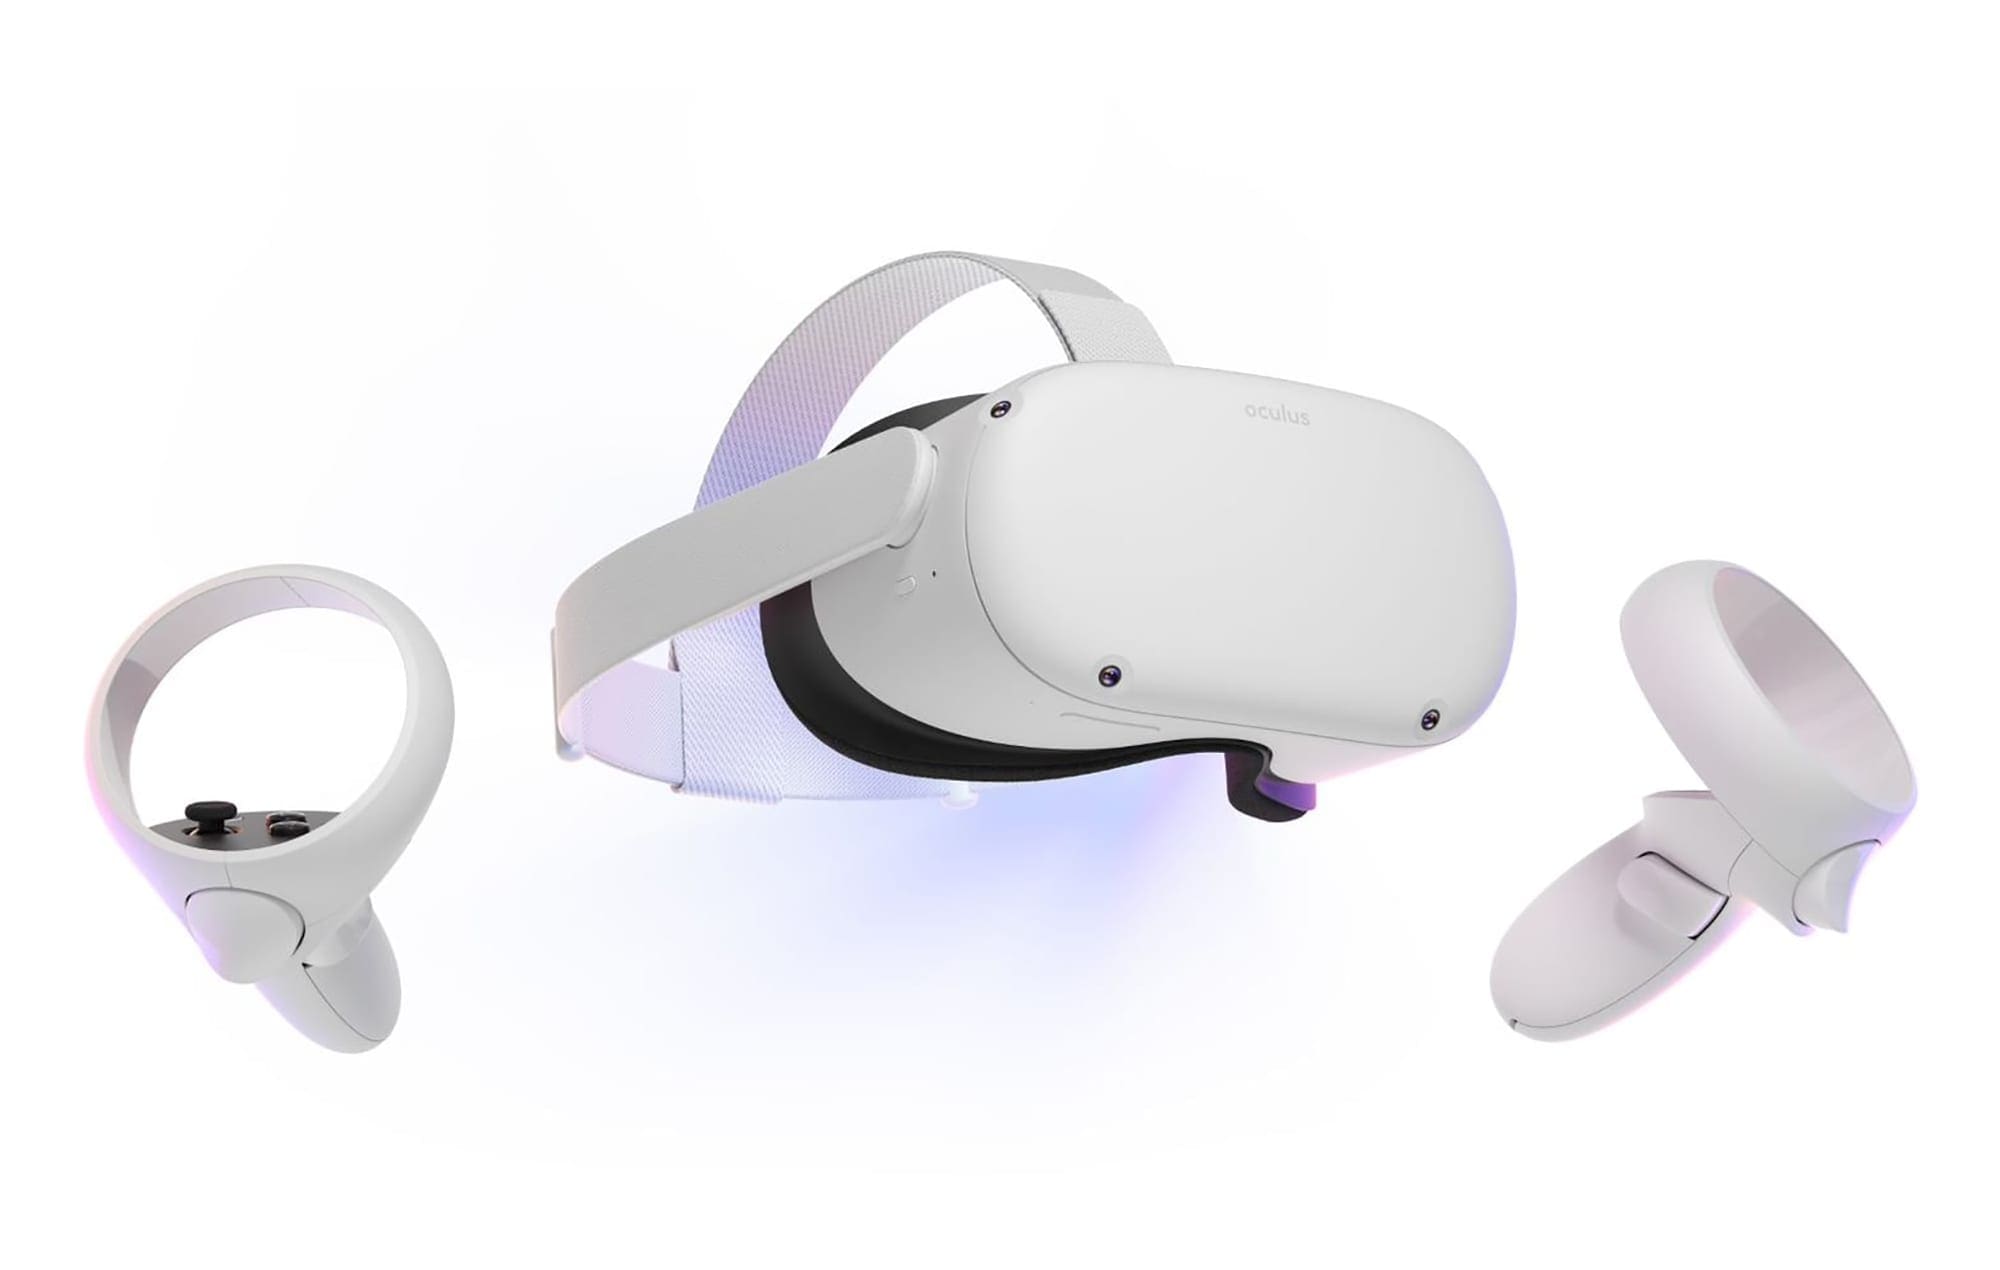
Unlike its predecessor, the Quest 2 allows users to adjust the physical position of the lenses on the headset. For example, by changing the distance between the lenses, the headset can be adjusted to fit better for people with different eye distances. The Quest 2 supports three setting distances – 58mm, 63mm, and 68mm.
Measuring the distance
If you wear glasses, you can check the info you got with your glasses to find out what your distance is easy. This value is commonly referred to as the IPD, so if you have contacts, glasses, or have recently done an eye test, you should be able to look up the value easily.
If you can’t do that, use a ruler in front of a mirror. First, adjust it so the 0 sits directly underneath your left pupil. Then, staring straight ahead, measure the distance to the right pupil. It may help close your left eye after adjusting the 0 to make sure you can look perfectly straight ahead.
When you have that measurement, pick the lens position that most closely matches your number! Or, you can pick the one that gives you the best view when you put the headset on.
Adjusting the Lens Position
Once you know what distance will work best for you, it’s time to adjust the lenses. They are connected. You won’t be able to move just the left or just the right. To make it easier, we recommend always moving both to avoid accidentally damaging the relatively sensitive lenses.
When you look at your headset, you’ll see that the plastic enclosure has a gap on one (or both) sides of the lenses. This is to allow the lenses to move back and forth. To easily adjust them to your preferred position, set the headset down, so the lenses facing up. Next, use your thumb to push on the outside of the lenses (never the glass itself!). Then, gently but firmly move them.

Your other fingers should hold the headset steady. You’ll feel some resistance before the lenses snap into the next position. Position 1 is the closest, 3 is the one with the lenses furthest apart. If you adjust the lenses while also wearing the headset, you’ll see an indication of what distance the lenses are set to as well.
Tip: Though not officially intended that way, if you’re gentle and careful adjusting the lenses, moving them to a distance between the pre-sets is possible. So, if your IPD ends up being 65mm, for example, and neither 63mm nor 68mm feel comfortable, you can set it to the bigger of the two options. Then, very carefully move them closer without pushing hard enough to snap to the next position. That way, you’ll get a more accurate setting.
The average IPD is about 63mm – what’s yours? Which setting do you use? Let us know!

My IPD for reading is 65 and for distance is 68.
68 seems to work best for me with the headset, although it’s not perfect. I suspect there are some idiosyncrasies with the headset. It certainly makes watching a movie in the headset a poor choice.