As a proxy tool Burp Suite allows you to proxy all your network traffic. By default, Burp proxies all traffic to any website, however, this can result in too much traffic being caught by the “Intercept” feature, showing up in the HTTP history or in the site map.
To control which traffic is visible within Burp, you can add sites that you want to see to the scope. While the scope doesn’t do anything by default you can configure the other tools to omit any results that aren’t in scope.
Tip: The scope doesn’t stop any traffic from being proxied through Burp, it just allows you to filter data you see or prevent it from being logged. You can configure Burp to drop all traffic that isn’t in scope in the “Connections” sub-tab of the “Project options” tab under “Out-of-scope” requests. Doing so will prevent all web traffic on your computer other than messages to and from the sites specified in the suite scope.
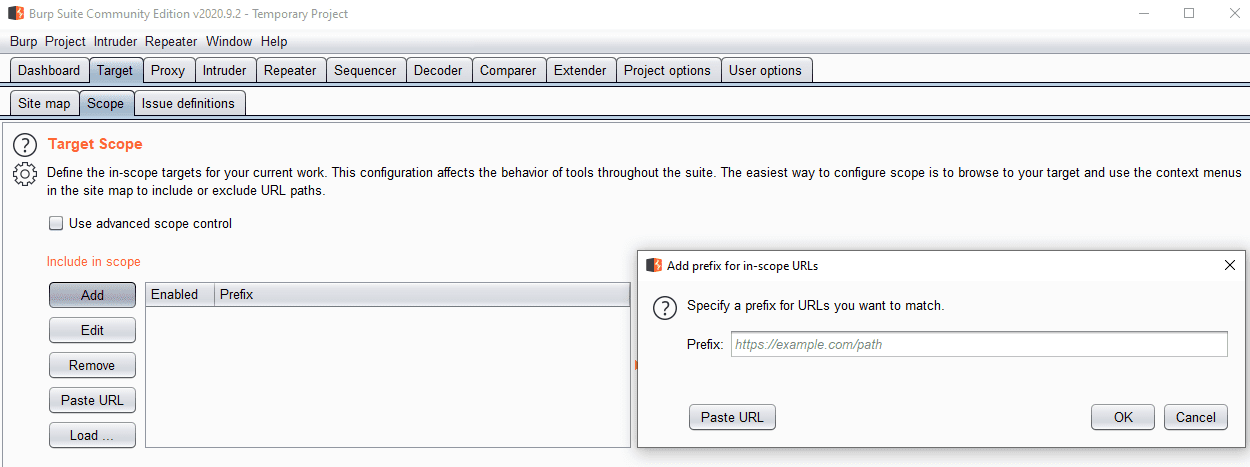
To add a website to the scope you can browse to the “Scope” sub-tab in the “Target” tab. If you’ve got a URL on your clipboard you can click “Paste URL”, or you can manually add a URL by clicking “Add”.
Tip: You don’t actually have to enter a full URL for a specific website, you’re actually configuring a prefix for which any matching traffic will be logged. This means you could specify “https://technipages” which would match any Technipages domain, or website using “technipages” as a subdomain e.g. technipages.example.com. This field isn’t case sensitive, but you will need to specify both “HTTP” and HTTPS”.
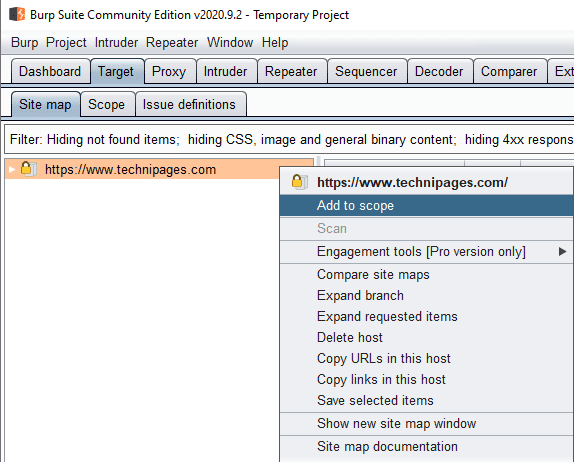
Manually adding websites can be a bit of a pain, especially if you’ve got a number of sites to add. It can be easier to browse to the websites you want to add to the scope first, with no scope set, so that they show up in the logs, as you can then right-click on them and add them to the suite scope. You can do this by right-clicking the website in the “Site map” sub-tab of the “Target” tab or the “Intercept” and “HTTP history” sub-tabs of the “Proxy” tab
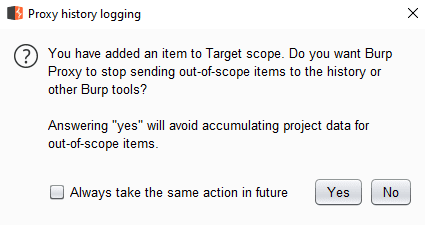
When you first add a site to the scope you’ll be asked if you want to omit data from out-of-scope URLs from the other Burp tools such as the HTTP history and Site map. This won’t hide data already there, just prevent new data from being transferred to those tools. If you click “Yes” it will enable the bottom setting in the “Options” sub-tab of the “Proxy” tab, labelled “Don’t send items to Proxy history or live tasks, if out of scope”.
If you want to keep logging out of scope items but don’t want to see them you can filter them out by clicking on the filter at the top of the Site map and HTTP history sub-tabs. The option to filter them out is in the top-left, labelled “Show only in-scope items”.
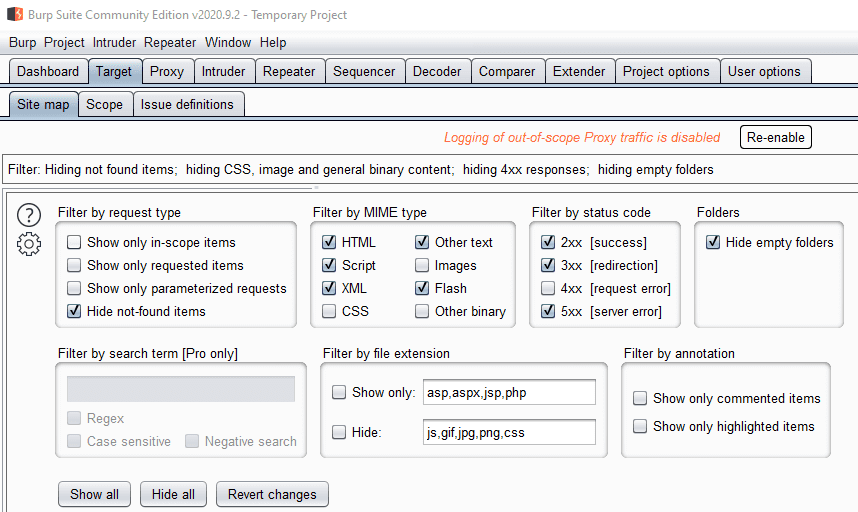
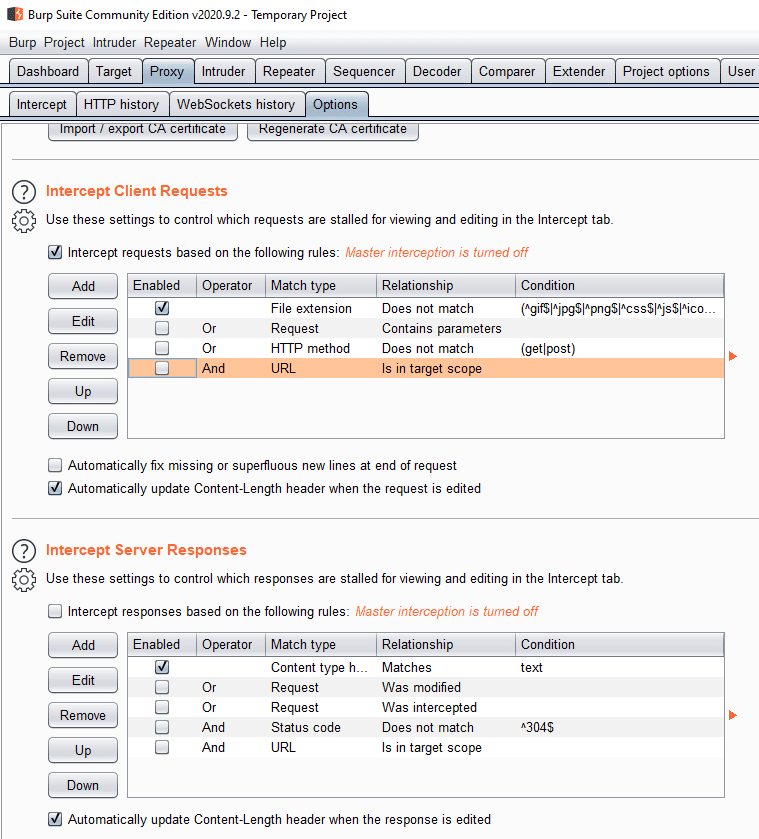
Even if “Logging of out-of-scope traffic” is enabled, that out of scope traffic will appear in the Intercept sub-tab of the “Proxy” window. To prevent this, you can tick “And URL is in target scope” in the “Intercept Client Requests” section of the “Options” sub-tab of the “Proxy” tab. If you’re intercepting responses, you’ll also want to enable the same setting in the “Intercept Client Responses” section.